Voting Instructions
Bergen County has new voting Machines!
Voting in Bergen County is as easy as 1 2 3:
1. CHECK IN
CHECK IN AT ANY POLL PAD AT YOUR POLLING LOCATION TO VERIFY YOUR CREDENTIALS AND SIGN TWO VOTING AUTHORITY SLIPS. PROCEED TO THE BALLOT MARKING DEVICE.
2. INSERT YOUR VOTER CARD
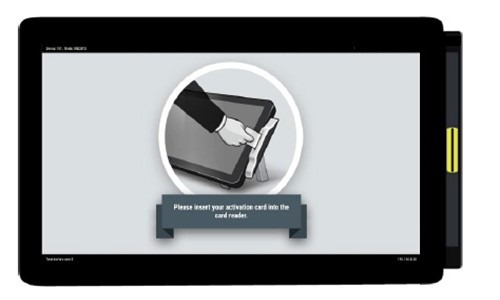
GIVE YOUR VOTING AUTHORITY SLIPS TO THE POLL WORKER AT THE BALLOT MARKING DEVICE WHO WILL ACTIVATE YOUR BALLOT. FOLLOW THE PROMPTS TO MARK YOUR BALLOT AND PRINT IT OUT. WAIT UNTIL YOU SEE THE GREEN CHECK MARK BEFORE YOU TAKE YOUR BALLOT FROM THE PRINTER.
3. SCAN YOUR BALLOT
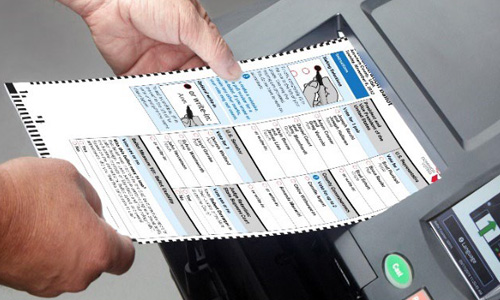
PROCEED TO THE SCANNER. SCAN YOUR BALLOT INTO THE SCANNER TO CAST YOUR VOTE.

MEET THE POLL PAD
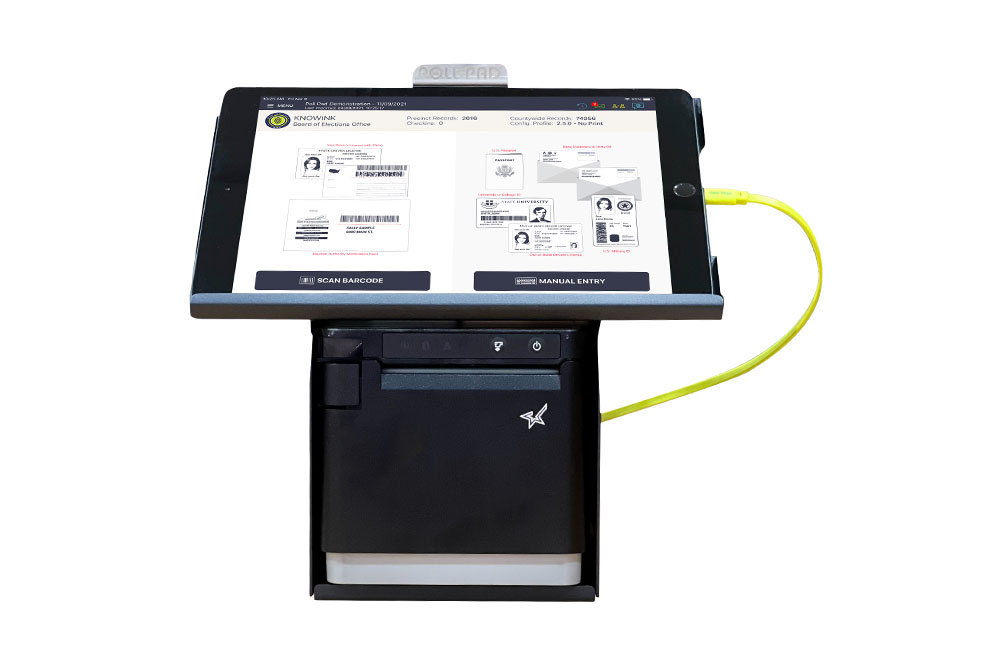
Poll Pad has replaced the outdated and inefficient paper model that is often the cause of long lines at the polls and inefficient election record keeping.
To vote on the new Dominion Voting Equipment, the voter must check in on a KNOWink Poll Pad sign and receive 2 Voting Authority slips:
Step 1: Voter checks in at any Poll Pad at their polling location to verify their credentials and sign two voting authority slips.
Step 2: Voter proceeds to the Ballot Marking Device (also known as the BMD), gives their 2 Voting Authority slips to the poll worker who activates their ballot. Voter follows prompts to mark their ballot by tapping the candidate/question to darken the ovals. Voter prints their ballot and proceeds to the scanner.
Step 3: Voter scans their ballot into the scanner to cast their vote.
Standard Voting Session
Standard Voting Session

Step 1
Voting Instructions will appear to guide the voter on how to make their selections. When ready to vote, select Go to ballot.

Step 5
When all selections have been made, select the ‘Review’ button to go to the ballot review screen.

Step 2
The ballot will appear on screen. The voter must touch the box/cell containing the choice they wish to select to darken the oval. Either the candidates name, or ‘Yes’ and ‘No’ for State questions or referendums.

Step 6
Confirm the selections on the ballot. If you are satisfied with the ballot, select ‘Print’ to print the ballot. If changes need to be made, select ‘Back to ballot’ to return to the ballot.

Step 3
To vote for a write-in candidate, the voter taps the Personal Choice column on the right-hand column of the ballot. The voter then types in the candidate’s name, then selects the ‘Confirm’ button when finished.

After pressing ‘Confirm’, the candidate’s name will appear in the Personal Choice Column on the right-hand column of the ballot.

Step 7
Select ‘Print your ballot’ to print the ballot with the selections. Wait until you see the green check and the ballot finishes printing on both sides before you remove it from the printer. You will be offered a Ballot Privacy folder for your ballot as you proceed to the scanner to cast your vote.

Step 4
If the ballot is double-sided, select the ‘Next’ button to go to the back of the ballot and make selections.
Scanning A Ballot

Step 1
Feed the ballot into the scanner entry slot.

Step 2
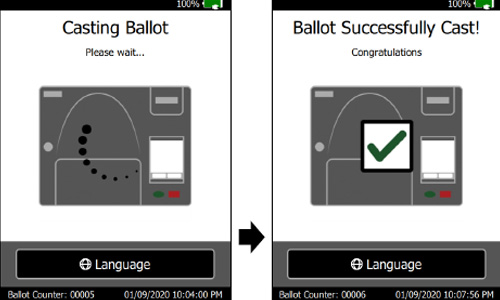
When a valid ballot is inserted into the scanner, you will hear two beeps and the screen will display the message ‘Casting Ballot’ followed by ‘Ballot Successfully Cast’.
